

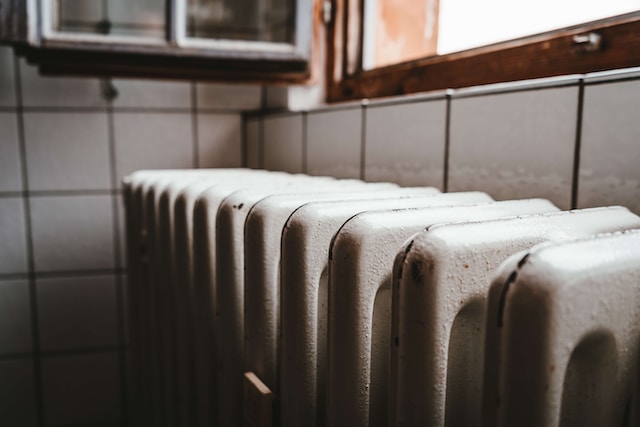
Black patches, pores, and mould are common issues nowadays in houses, but they spoil the beauty of your house. These lower the house’s value and cause several issues for the homeowner. For example, if you use wooden windows, the life of the shell is reduced because of moisture. In many cases, your wet walls will cause you to deal with rusted furniture, damaged furniture, foul odours, and other problems.
Drying damp walls in a home across the UK, where weather can significantly influence moisture levels in buildings, demands practical and effective solutions. Addressing this issue promptly prevents structural damage and health problems associated with mould and mildew growth. Below are step-by-step, practical approaches tailored for UK homeowners.
Key Takeaways
– How can we dry a damp wall? Find the cause — leaks, rising damp, or condensation.
– Small damp patches on the wall can often be managed with better ventilation, steady heating, and surface treatments.
– To dry wet walls after water damage, use dehumidifiers, fans, or heaters alongside repairs to stop further moisture ingress.
– Many ask, “Will dehumidifier dry out damp walls?” Yes, but only as part of a wider fix; sealing leaks and applying damp-proofing is essential for lasting results.
– For severe or recurring problems, professional damp-proof experts can provide guaranteed long-term solutions.
Initial Assessment
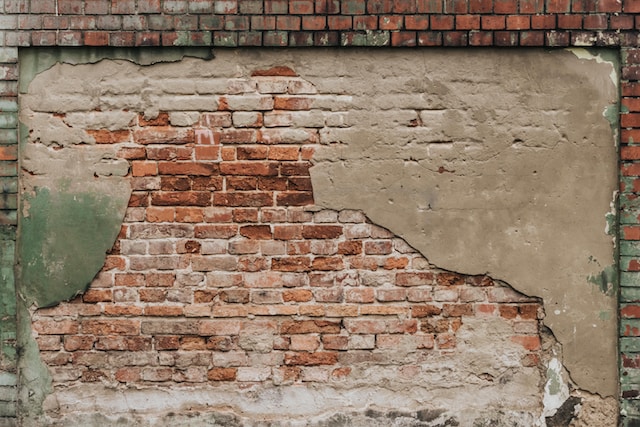
First, identify the source of dampness. Common causes include leaking pipes, rainwater ingress through damaged roofing or window frames, and rising damp due to a failed damp-proof course. A visual inspection might reveal the damp source, but sometimes it’s hidden, like a pipe within a wall. In such cases, consider consulting a professional to diagnose the issue accurately.
Ventilation
Improving air circulation is critical. Open windows and doors daily to allow moisture-laden air to escape and fresh air to circulate, especially in kitchens and bathrooms where steam is generated. Installing trickle vents in windows or investing in a ventilation system can help maintain airflow even during colder months.
Heating
Consistent heating helps in reducing dampness by warming the walls and reducing relative humidity. Aim for a steady temperature throughout the day rather than short bursts of high heat. This approach prevents condensation, a common cause of damp walls.
Dehumidifiers
A dehumidifier can significantly reduce moisture levels in the air. Place dehumidifiers in the most affected areas and empty them regularly. For larger properties or severe damp issues, consider using multiple units. You can read our guide How to Choose the Best Basement Dehumidifier? to more about dehumidifier.
Repair Works
Address any identified sources of moisture ingress. This might involve resealing around windows, repairing or replacing roof tiles, fixing leaking pipes, or renewing the damp-proof course. These repairs are crucial to prevent dampness from recurring.
Drying Out
After addressing the source of damp, walls need time to dry out thoroughly. This process can be slow, especially in older buildings with solid walls. Avoid the temptation to speed up the process with high heat, as this can cause plaster to crack and wood to warp. Instead, maintain a moderate, consistent temperature and use dehumidifiers to aid drying.
Salts Treatment
Damp walls can leave salt deposits that attract moisture from the air, perpetuating dampness even after the original source is fixed. Specialised salt-neutralising primers can be applied before redecorating to prevent this issue.
Repainting and Redecorating
Once the walls are dry and any salt issues addressed, they can be repainted or redecorated. Use paint and wallpaper that are breathable, allowing moisture to escape from the walls and reducing the risk of future dampness.
Next things You can do to Dry, Damp Walls
Well, you have a lot of options to keep your walls dry. You can opt out of any solution according to your resources and wall condition.
1. Use Heater
This approach may be the most successful one for drying wet walls. Heaters can accelerate the wall evaporation speed and quicken the drying process. In this way, you can dry up your walls.
2. Increase the Ventilation Area
A lack of adequate ventilation can occasionally cause your walls to become damp. In this case, you can increase the area for ventilation by opening doors and windows.
3. Uncover Your Walls
We occasionally hang posters and wallpaper to make our walls gorgeous, glorious, and shining. In the meantime, we should have checked the moisture level of our walls. This causes the walls to become wet, giving you a swollen structure. However, you can relieve this burden by removing these covers or wall posters.
4. Repair Water Leaks from Walls Using Hole Technique
This technique can be used when the water flow from the walls is excessive. Drilling a hole in the walls will allow you to locate the leak. This prevents your walls from leaking excessively and allows you to repair the leak.
5. Use the Fan/Cooler/AC
To help you dry the wall, you can briefly use a machine with rotating blades, such as a cooler, air conditioner, or fan. However, this method is useful when you have a small area of damp walls.
6. Call Dampproof Experts
If you have not been able to determine the cause of your wet walls and have tried numerous solutions, you will be unable to determine the best solution for your walls. In this case, it is best to contact damp experts who can detect the moisture level in your building’s walls and recommend the best drying solution.
7. Remove the Excessively Damaged Wall Area
It is strongly suggested that the wall section that is seriously leaking and posing issues be removed. The building’s design may benefit from removing the wet wall area because it will give you more time to hire contractors to fix your wall or basement.
8. Apply Damp Proofing Solutions
Although it is one of the most straightforward solutions, its efficacy is still being determined. Even though many options are available on the market, choosing the best one can take time and effort. However, you can select that damp proofing solution by looking at its ratings or reviews on reliable websites.
So, these are the handy solutions that you can opt for to dry the damp walls. You can opt for any of the solutions according to the moisture level of your building.
Check Out Before You Leave
By adopting these practical steps and maintaining vigilance against potential damp sources, UK homeowners can effectively manage and prevent damp walls, preserving the integrity and comfort of their homes.
Your choice should be the best one out of the bunch. While we advise you to choose the expert calling solution, doing so makes your task easier and comes with a 20-year warranty at a competitive price. Take a look at some walls we’ve recently restored to a dry, damp-free condition.


