Ignore rising damp for too long, and it won’t just stay hidden, it can damage your walls, ruin your décor, and lead to costly repairs later. If you’ve noticed damp patches, tide marks, or a musty smell near the base of your walls, especially in an older home, there’s a good chance rising damp is the cause.
This guide will show you exactly how to use damp proofing cream, a modern, effective, and DIY-friendly solution, to stop rising damp in its tracks. Whether you’re a hands-on homeowner or simply want to avoid expensive building repairs, follow this step-by-step approach to restore and protect your walls with confidence.
What is Damp Proofing Cream?
Damp proofing cream is a thick, water-repellent chemical formula that’s injected into walls to form a new damp proof course (DPC). Once inside the masonry, it spreads through the bricks and mortar before curing to create a barrier that stops moisture rising from the ground.
Unlike older methods, such as installing a new physical DPC (which often requires major building work), damp proofing cream is far less disruptive. It’s also cost-effective and easy to apply with the right tools.
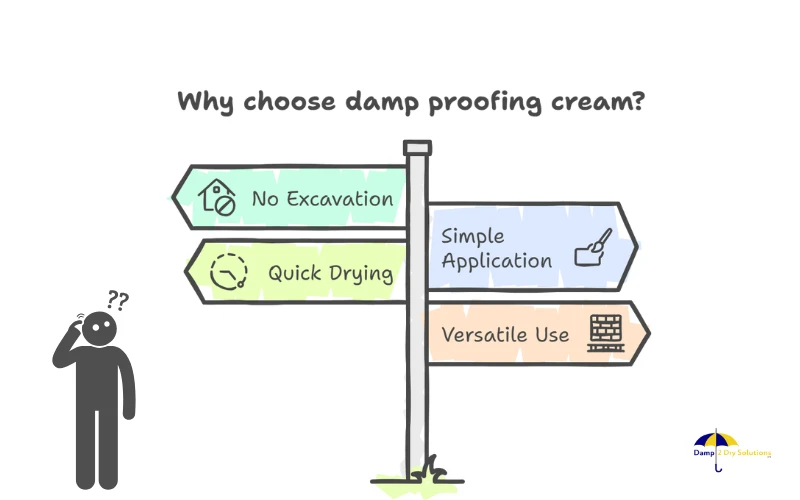
Here’s why many homeowners like you choose damp proofing cream:
- No need to excavate walls or floors
- Simple and clean application
- Quick drying and long-lasting
- Ideal for brick, stone, or block walls
How To Tell If You Have Rising Damp?
Before you begin, it’s important to confirm you actually have rising damp, not condensation or penetrating damp, which require different treatments. Look out for the following:
- Tide marks up to 1 metre from the floor
- Peeling or bubbling paint or wallpaper
- Flaky plaster or crumbling skirting boards
- Powdery salt deposits on the wall surface
- A persistent musty or damp smell
You can also use a moisture meter to check damp levels or have a local damp specialist carry out a survey if you’re unsure.
What You’ll Need (Tools & Materials)
Before starting the job, gather everything you need. Here’s a list of essentials:
Tools related to injection cream:
- SDS drill with a 12mm masonry bit
- Injection gun or applicator
- Measuring tape or ruler
- Gloves, goggles, and dust mask
- Spirit level or chalk line
- Bucket and sponge for clean-up
Injection cream-related materials:
- Damp proofing cream (such as Dryzone or Kiesol C)
- Salt-resistant plaster or filler
- Mortar or plastic plugs to seal holes
- Protective sheets for your flooring
- Masking tape (optional)
Some Top Products – PermaSEAL PRO DPC Injection Cream
Preparing Your Walls
Preparation is key to a successful treatment. Here’s what you need to do:
- Assess the extent of the damp – Take note of how high the damp has risen and check multiple rooms if necessary.
- Remove skirting boards and plaster – Strip away skirting and damaged plaster up to 1 metre or 300mm above the highest sign of damp.
- Allow drying time if soaked – If your wall is saturated, let it air out for a few days before application.
- Check for external issues – Make sure there are no external sources feeding the problem, such as blocked gutters or raised ground levels.
Don’t forget your safety gear — wear gloves, goggles, and a mask to avoid dust inhalation when drilling.
How To Apply Damp Proofing Cream (Step-by-Step)
If you’ve decided to tackle rising damp yourself using a damp proof injection cream, applying it correctly is key to ensuring long-term protection. Follow this expanded, user-friendly process to get the job done right the first time.
Step 1. Mark and Drill the Holes
Start by measuring and marking a horizontal line along the base of the affected wall, ideally 150mm above external ground level or just above internal floor level. This is the line where your new chemical damp proof course will sit.
Next, take your SDS drill with a 12mm masonry bit and carefully drill holes along the mortar bed, not through the bricks themselves. The spacing between each hole should be around 120mm for consistent coverage. Make sure each hole goes deep enough — approximately 90–95% of the wall’s thickness. For most solid walls, that’s around 100mm for single-skin and 210mm for double-skin constructions.
This step is crucial: the effectiveness of your damp proof injection depends on the precision of the hole placement and depth.
Pro Tips:
- Keep your drill level and steady to avoid uneven penetration.
- Remove dust and loose debris from each hole using a vacuum, bottle brush, or even a blower nozzle. A clean bore ensures better absorption of the damp proof injection cream.
- Check for obstructions like rubble or voids in older walls, as these may require special treatment or advice.
Step 2. Inject the Cream
With the holes drilled and cleaned, it’s time to apply the damp proof injection cream. Load your cream (such as PermaSEAL PRO or Kiesol C) into the injection gun or applicator cartridge.
Insert the nozzle right to the back of each hole and begin slowly injecting the cream. Fill each hole from the back towards the opening, withdrawing the nozzle steadily as you go. This ensures an even distribution of the active ingredients within the wall.
Continue this process across the entire line, maintaining a consistent and controlled application. Avoid overfilling, which can lead to waste or surface mess. Always refer to the manufacturer’s guidelines for correct volume per linear metre.
Pro Tips:
- Some walls, particularly those made from highly porous brick or containing old lime mortar, may absorb more cream than expected.
- If the mortar is loose or the wall is highly saturated (up to 95%), you may need to allow extra cream per injection point or consider a two-pass injection method.
Step 3. Plug and Finish
Once the damp proof injection cream has been applied, your next step is to seal the holes. You can use plastic plugs specifically made for injection holes or repoint the holes with cement-based mortar.
Now comes the drying period. Although the cream begins curing immediately, wait 14 to 28 days before replastering. This allows the wall to begin drying and prevents trapping any moisture behind new materials.
When it’s time to replaster, be sure to use a salt-resistant base coat plaster or a dedicated renovation plaster system. Avoid using gypsum-based plasters, as they are prone to absorbing residual salts and can fail prematurely.
Once your walls are fully dry — which could take a few months — you can redecorate using paint or wallpaper. Finally, reattach your skirting boards and enjoy your newly protected interior.
Aftercare and Monitoring Progress
After completing your damp proof injection, you’ll need to monitor the wall as it gradually dries out. Don’t expect instant results — full drying depends on the wall thickness, weather conditions, and how saturated it was beforehand.
Here’s how to care for your walls after the treatment:
- Be patient: Drying can take anywhere from 6 weeks to several months, especially in older or solid brick walls.
- Ventilation matters: Keep windows open regularly or use a dehumidifier to improve air circulation and speed up drying.
- Don’t redecorate too early: Wait until the wall feels dry to the touch or use a moisture meter to confirm. Premature painting can trap moisture and ruin the finish.
- Watch for signs of success: Tide marks will fade, salt patches should stop growing, and the wall will feel noticeably drier over time.
- Keep an eye on bridging: If damp patches return, check for issues like high external ground levels, leaking gutters, or plaster that’s bridging above the new DPC level.
Regular inspection in the months following your damp proof injection treatment helps ensure the system is performing as intended and alerts you to any external issues that need addressing.
Common Mistakes to Avoid
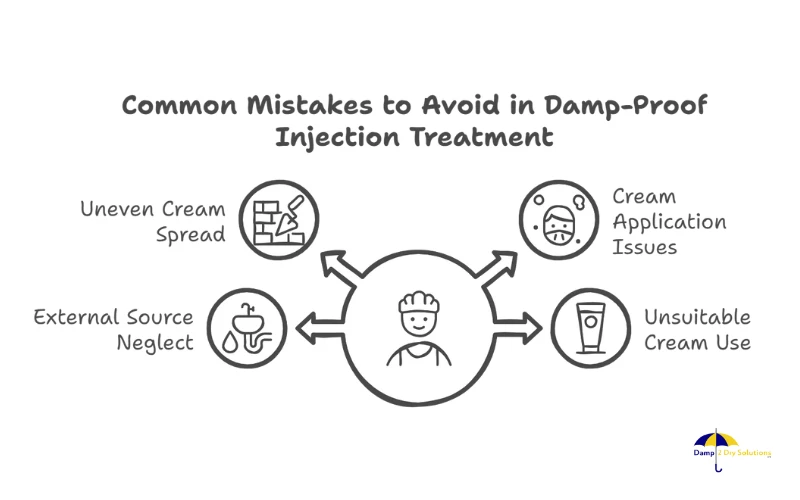
Here’s what you should be careful of:
- Drilling into bricks instead of mortar – Cream won’t spread evenly this way.
- Skipping preparation – Don’t apply cream over damp plaster or painted surfaces.
- Not addressing external sources – Fix broken downpipes, high patios, or flowerbeds that may be raising ground levels.
- Using unsuitable cream – Only use products specifically designed for rising damp.
Avoiding these errors will save you time and money.
Questions You Might Have About Damp Proofing Cream
How long does the cream take to work?
You’ll start to see results in a few weeks, but full curing and drying of the wall can take 6 to 12 months, depending on the wall’s thickness and moisture levels.
Can I do this myself?
Yes, most homeowners can. But for severe or widespread damp, calling in a professional is advised.
Does it work on all wall types?
Damp-proofing cream works on most brick, stone, or block walls, but it’s not ideal for very lightweight concrete or rubble-filled walls without expert advice.
What are the common signs that rising damp is being treated effectively?
You’ll notice the musty smell fading, damp patches shrinking, and salt marks reducing within a few weeks to months as the wall gradually dries out.
Are there any safety precautions to consider when applying damp-proofing cream?
Yes — wear gloves, goggles, and a dust mask, ventilate the room well, and follow the manufacturer’s safety instructions during drilling and injection.
How does damp-proofing cream compare to traditional damp-proof courses?
Cream is quicker, cleaner, and less disruptive than traditional methods, making it ideal for DIYers and small jobs without major building work.
When Should You Call a Professional?
There are times when DIY won’t cut it:
- Your walls show signs of structural damage or deep saturation.
- If your property is listed or located in a conservation area, where strict restoration guidelines apply.
- You’ve previously attempted treatment but the damp has returned.
- There appears to be a mix of damp issues, such as both rising and penetrating damp.
In these situations, it’s best to speak to a local expert like Damp 2 Dry Solutions Ltd. Based in Cheshire and serving homes across Manchester, Liverpool, Merseyside, Stoke-on-Trent, Chester, and Warrington, we offer professional damp surveys and tailored treatments that come with long-term peace of mind.
Our trained surveyors don’t just treat the symptoms, we find and fix the source, using proven solutions and damp proofing methods suited to your property type. If you’re unsure, we’re just a phone call away and happy to offer honest advice.
Summing up
Tackling rising damp can feel daunting at first, but with the right method and materials — such as a quality damp proof injection cream — you can treat it effectively and protect your home for years to come.
By following this step-by-step guide, preparing properly, and avoiding common mistakes, you’ll be well on your way to creating a drier, healthier living space. Just remember — rising damp won’t go away on its own. The longer you leave it, the more damage it can do.
If you’d rather have the experts handle it for you, Damp 2 Dry Solutions Ltd is here to help. We’ve treated hundreds of homes across the North West with guaranteed results and minimal disruption. Contact us today for a free consultation or to book a professional damp survey.